Set up your practice in Faronto
On this page
Your profile and business details are what your clients see in their emails, on your booking page and in the portal. This article covers the first setup, where to change each setting later, and the Get started card on your Dashboard.
The first setup
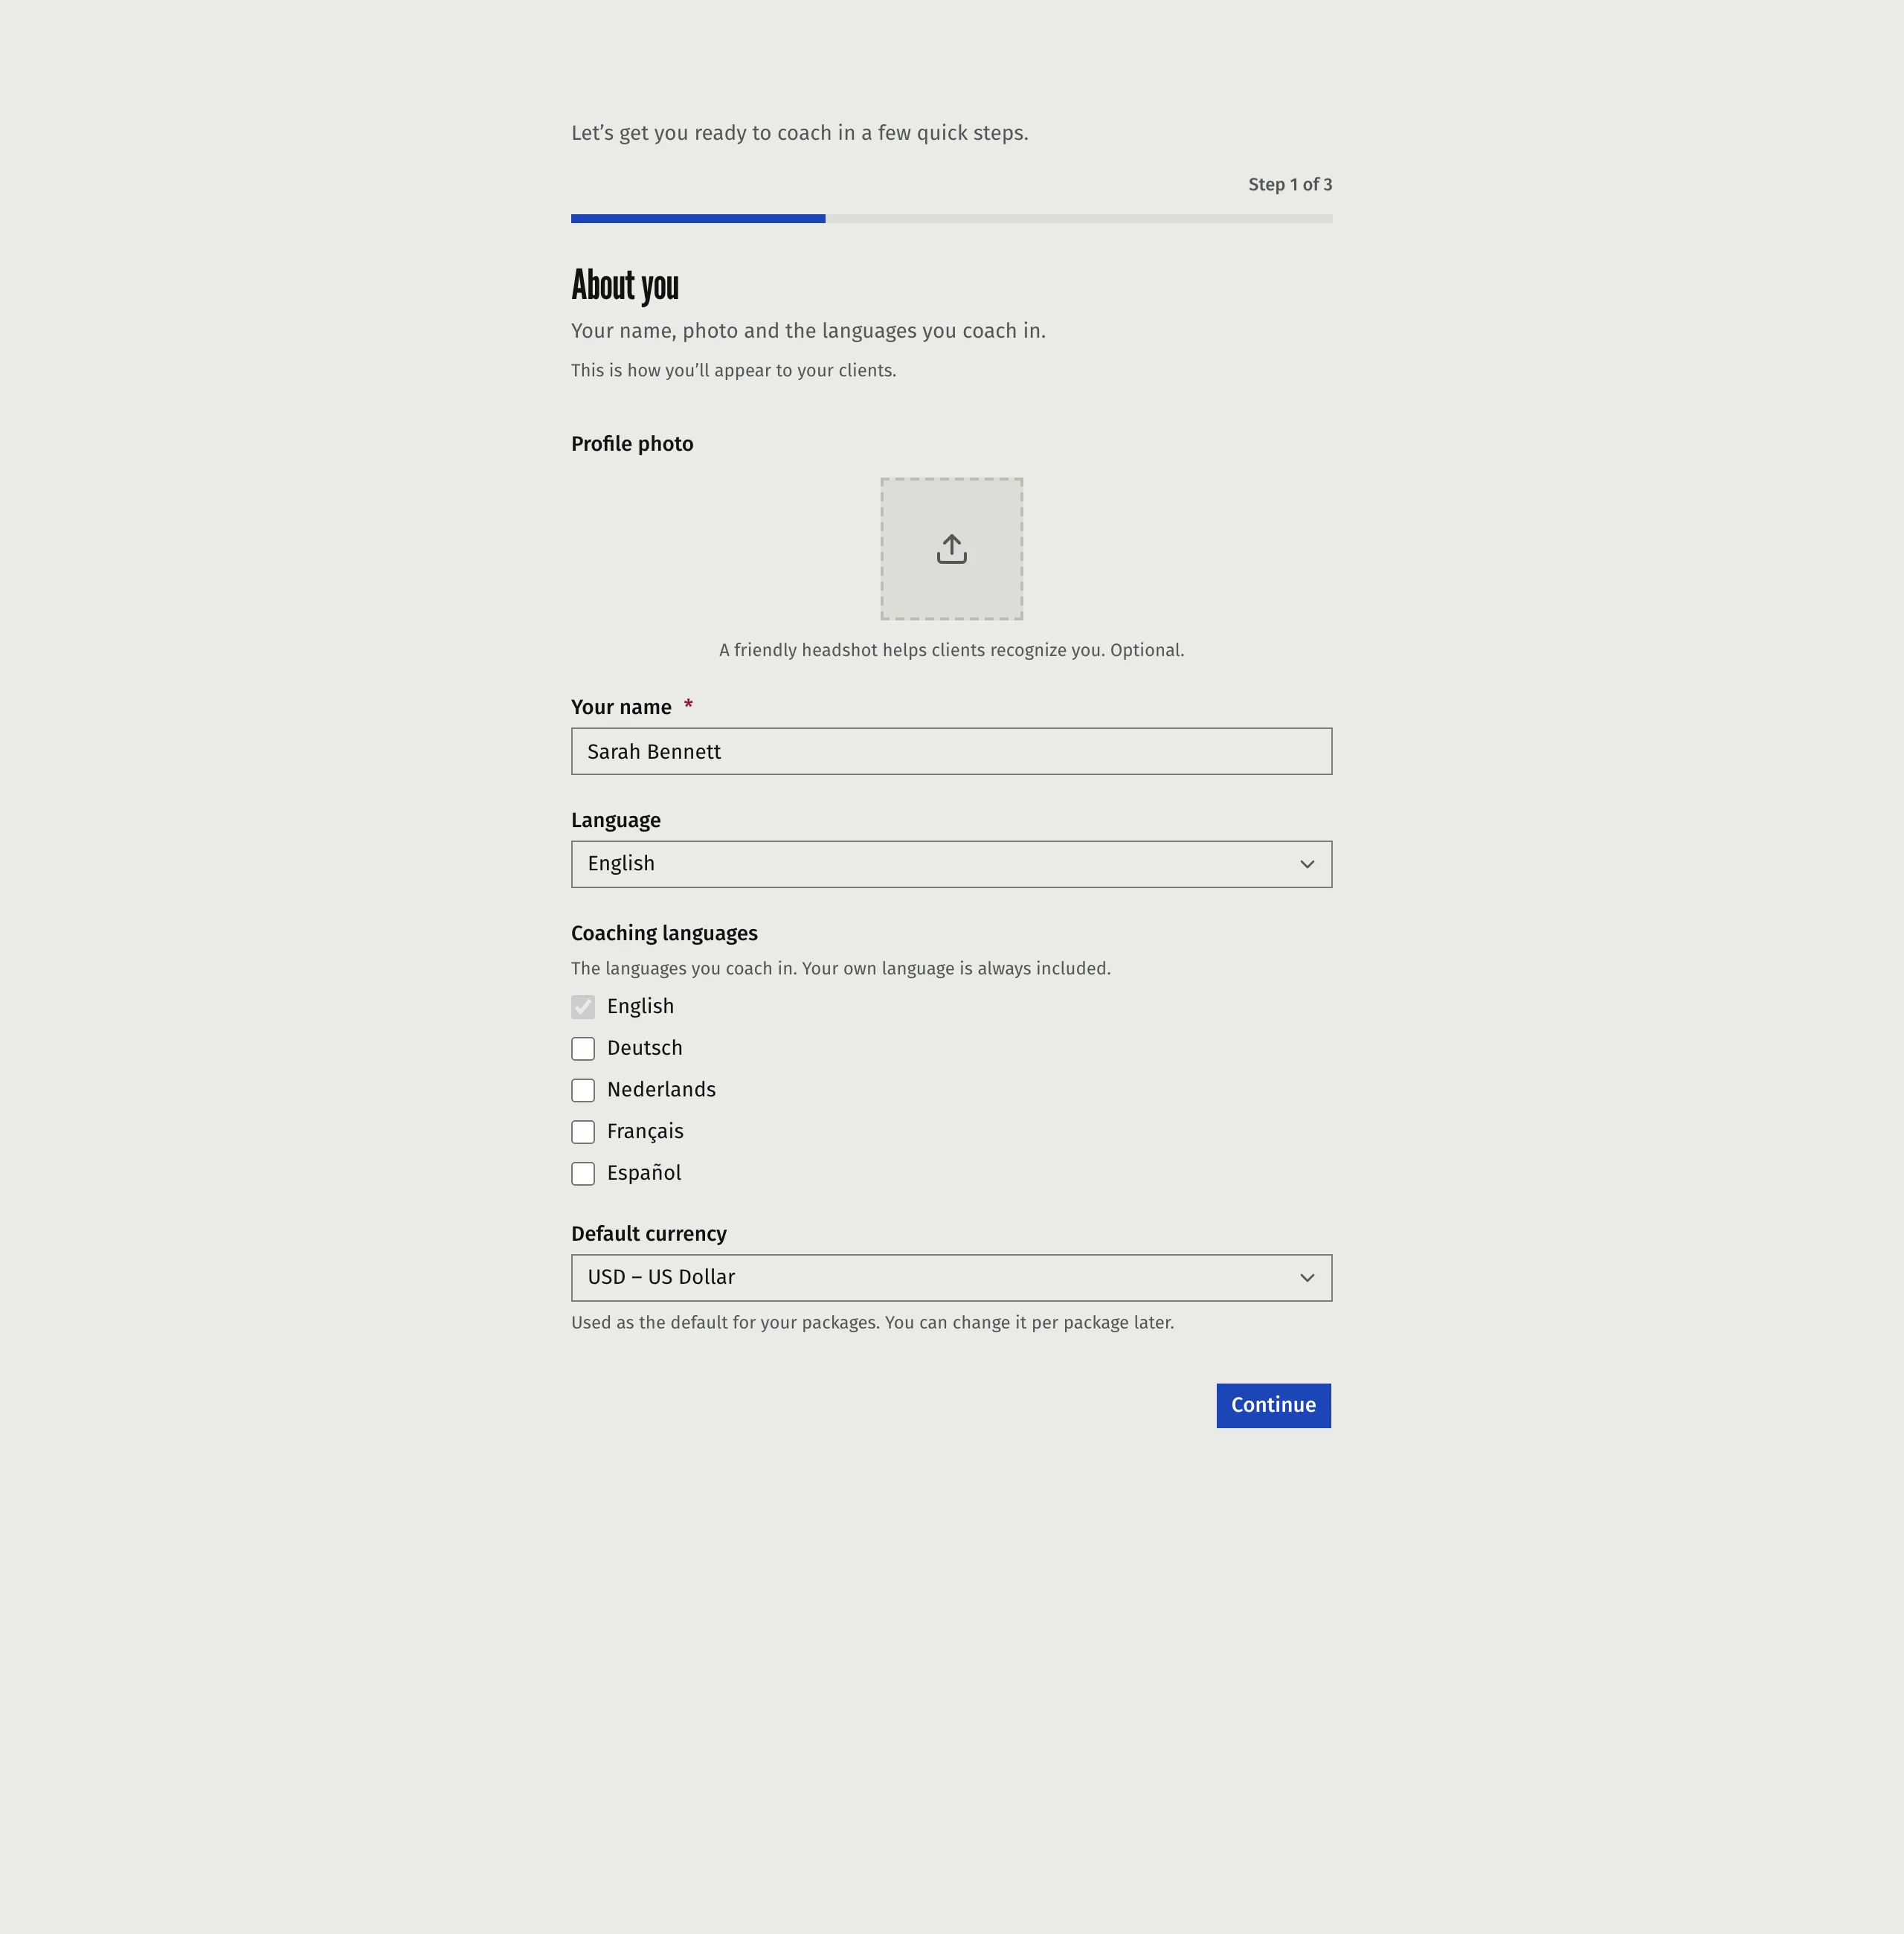
The first time you sign in, Faronto walks you through a short setup before you reach the Dashboard. It has three steps.
- About you. Your name, photo and the languages you coach in. You also choose your default currency. This is how you’ll appear to your clients.
- Your business. Your business name, logo and a short bio. You also set your timezone, an accent colour and whether to turn on AI features. Clients see this on your booking page and in your emails.
- Your packages. Add up to 5 coaching packages. These become the sessions clients can buy from you.
You can leave the packages step with Skip for now. Nothing in the setup is permanent. Every field is in Settings afterwards.
Change your profile later
Open Settings, then Profile. Here you can change:
- Your name and your profile photo.
- Language, the language you use Faronto in.
- Coaching languages, the languages you coach in. When you add a client, you pick one of these for that client. It sets the language of their emails, their portal and AI-written content.
- Default currency, the default for new packages.
Each card has its own save button. Your own language is always included in your coaching languages.
Change your business details
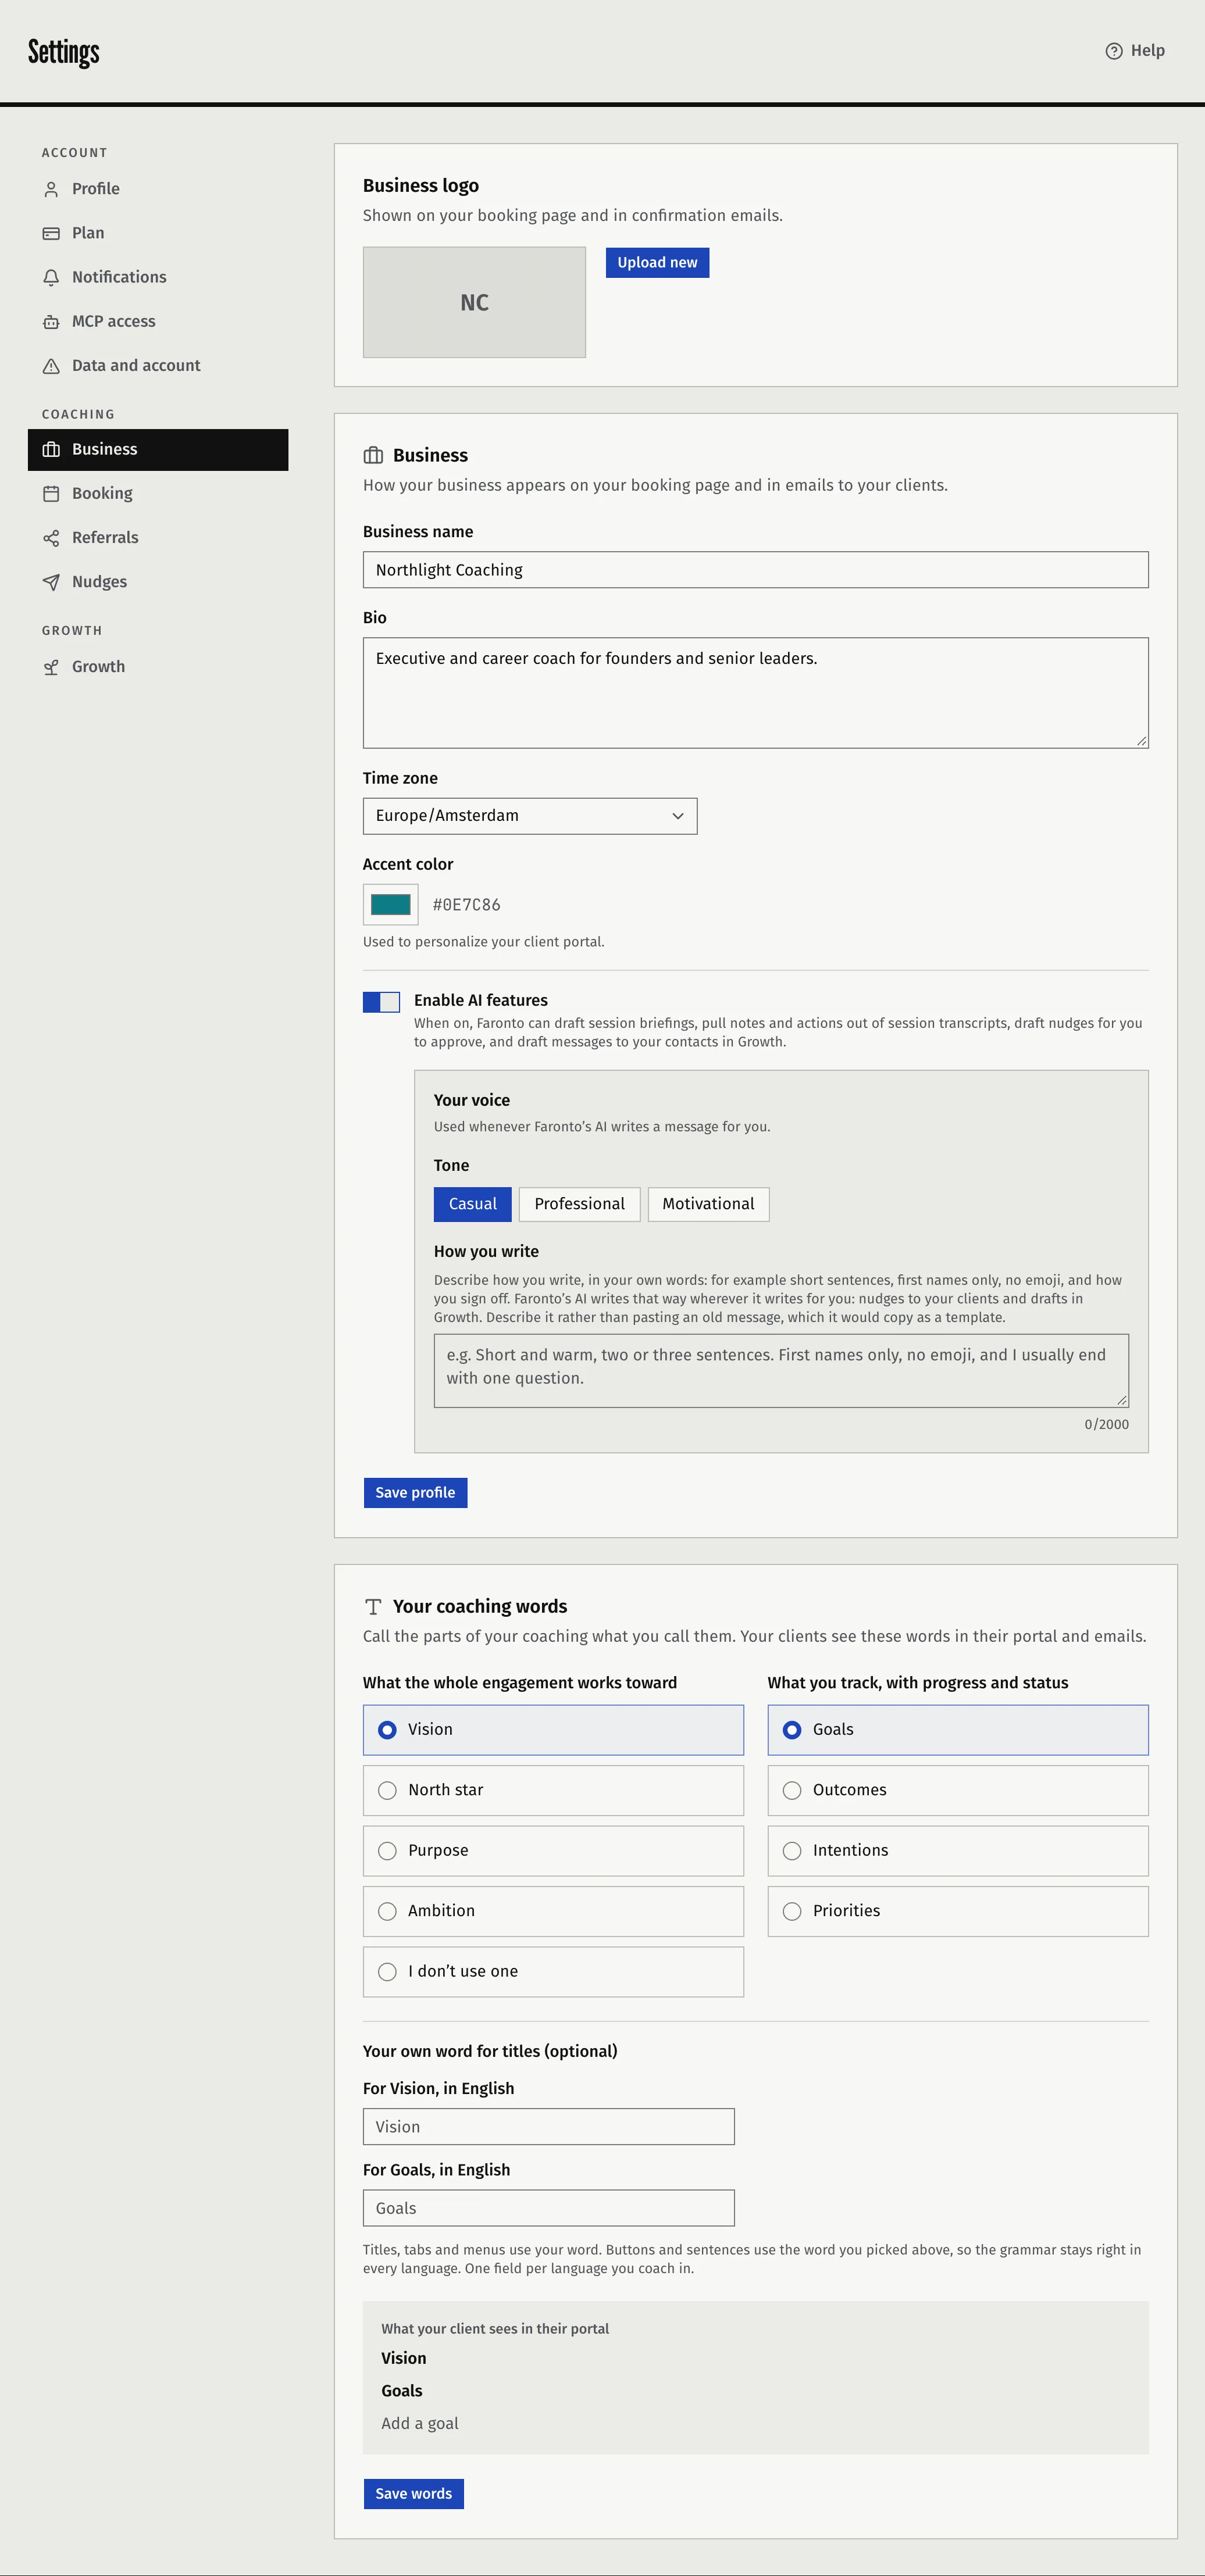
Open Settings, then Business. Here you can change:
- Business logo, shown on your booking page and in confirmation emails.
- Business name, Bio, Time zone and Accent color. The accent colour personalises your client portal.
- Enable AI features. You switch AI on or off for your whole practice.
- Your voice, which appears once AI is on. It sets how Faronto’s AI writes for you.
Press Save profile to save.
Your coaching words
On the same page, Your coaching words sets the words your clients see in their portal and emails.
- What the whole engagement works toward: vision, north star, purpose or ambition. Choose I don’t use one if you don’t work with one.
- What you track, with progress and status: goals, outcomes, intentions or priorities.
- Your own word for titles (optional): a word of your own for each language you coach in. Titles, tabs and menus use it. Buttons and sentences keep the word you picked above, so the grammar stays right in every language.
The card shows a preview of what your client sees. Press Save words. The portal invite and your client’s emails use these words too.
Set your weekly hours
Clients and, with Growth, people who book a call can only pick times inside your weekly hours.
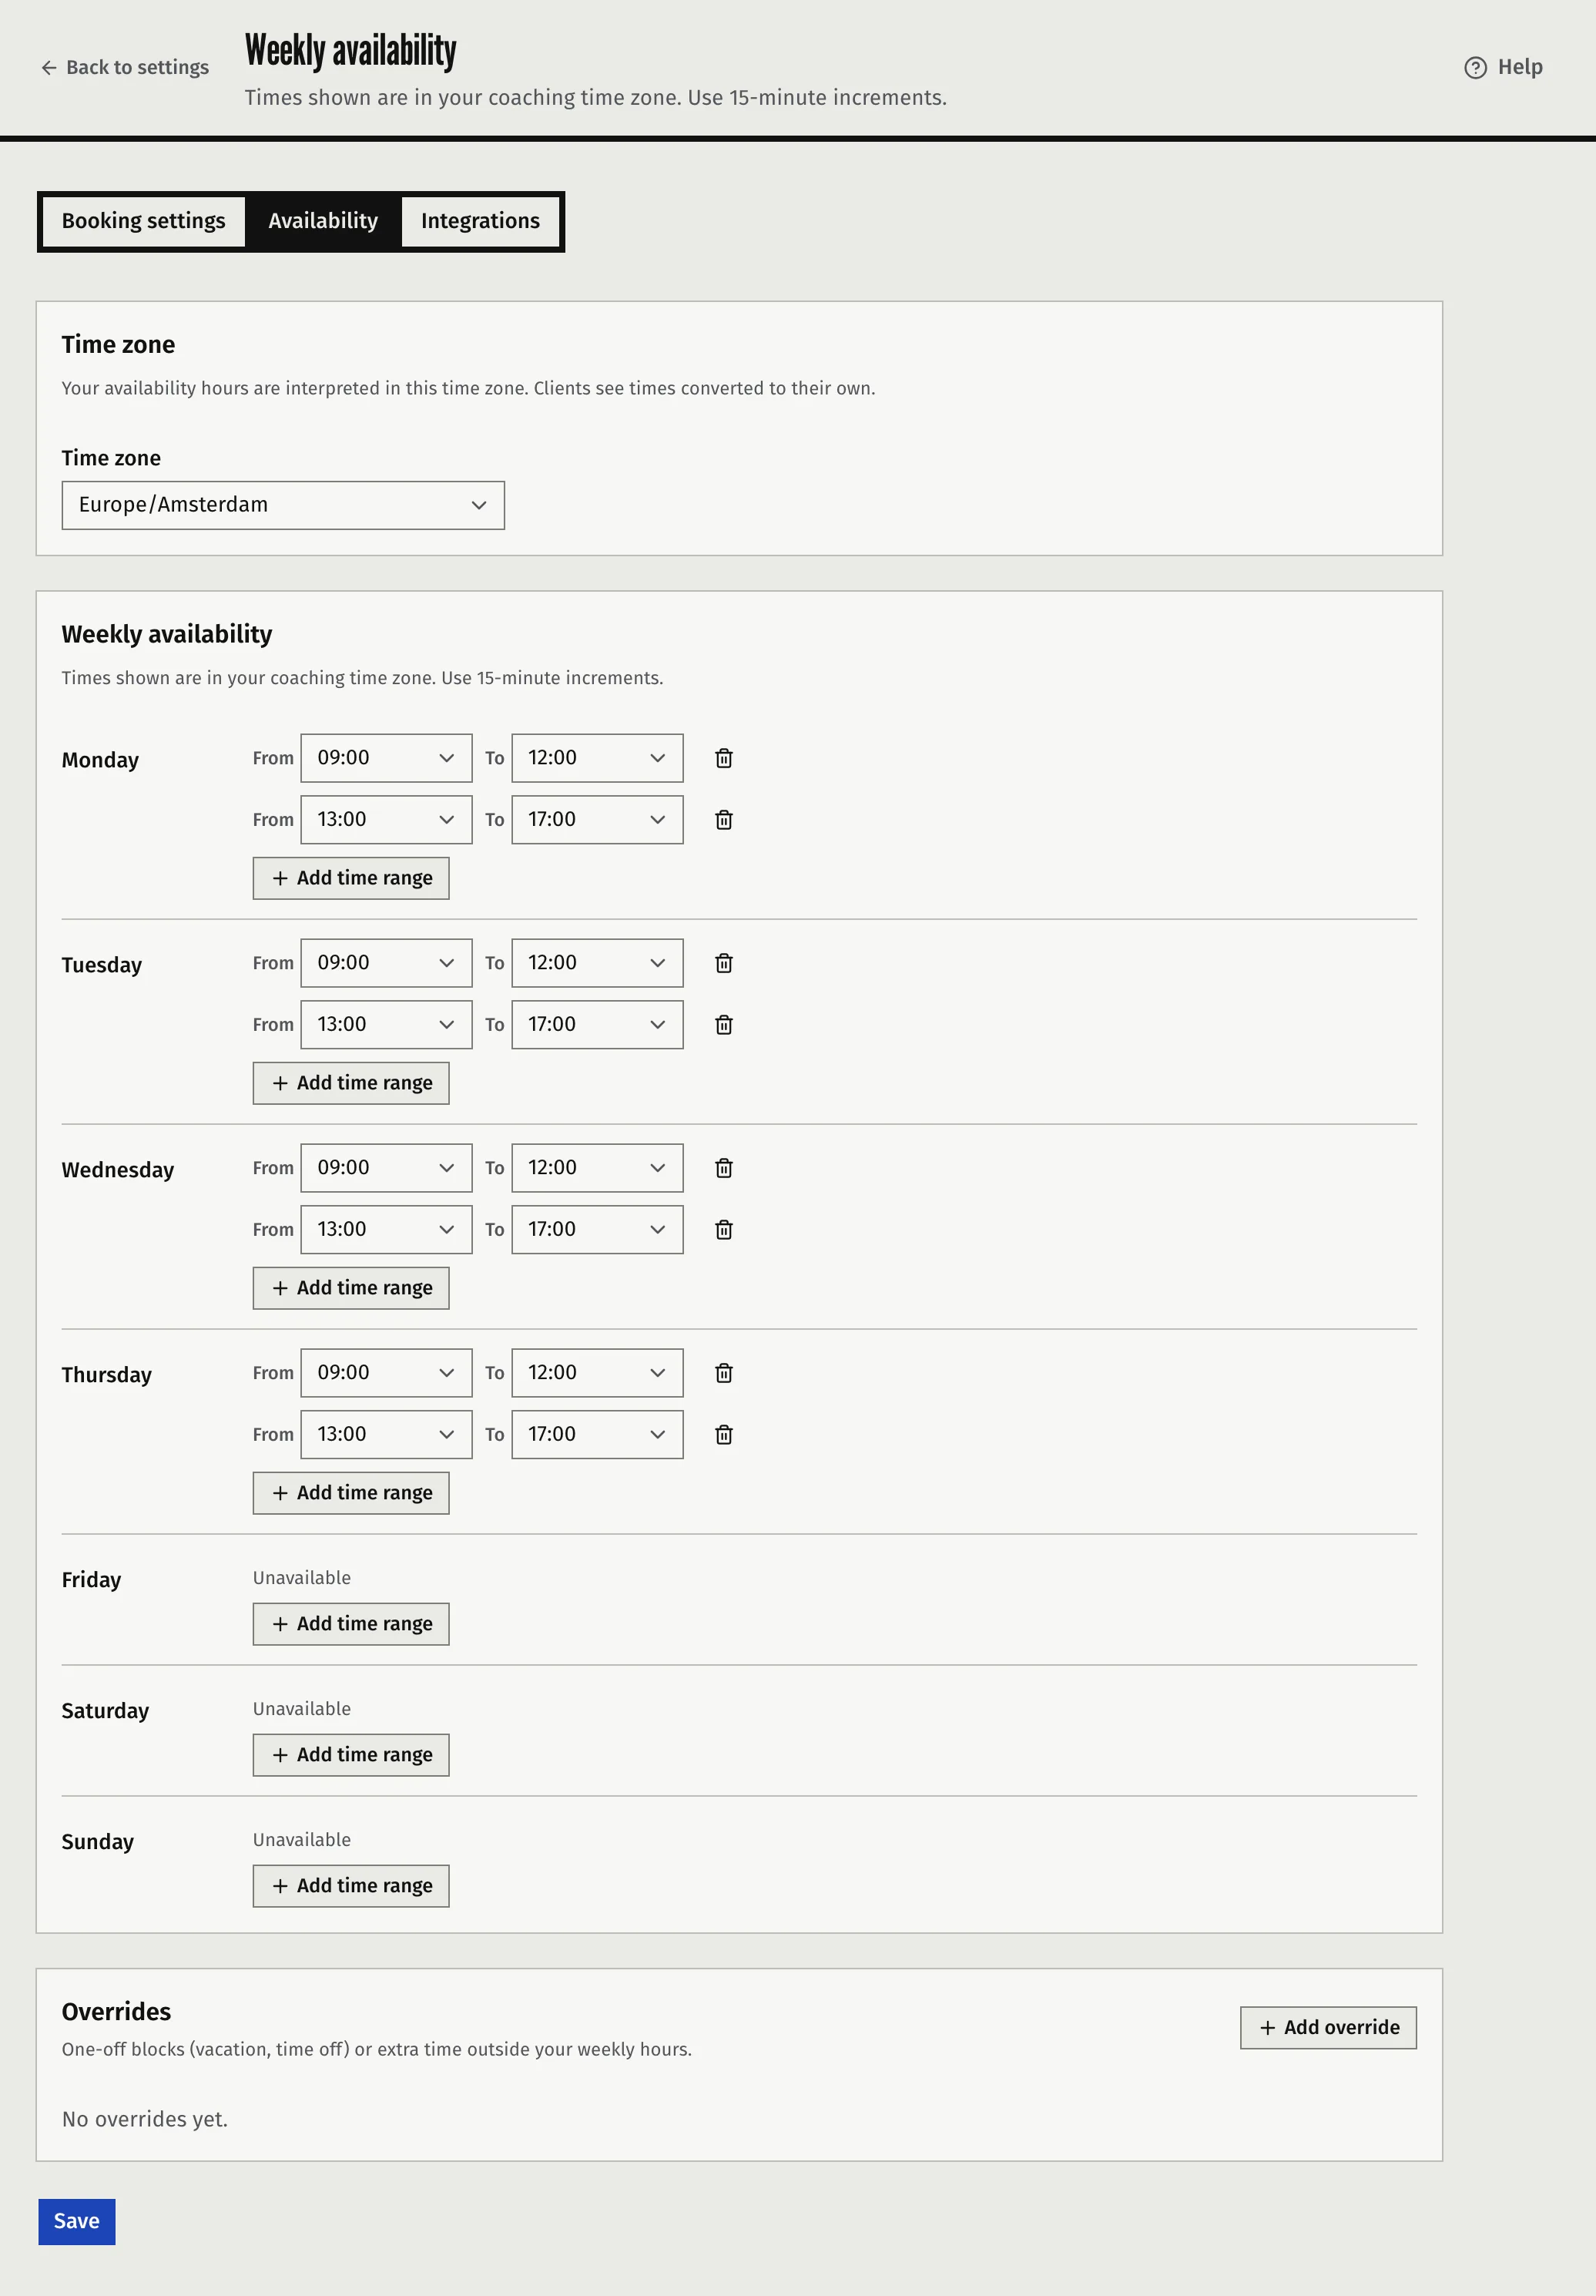
- Open Settings, then Booking.
- Open the Availability tab.
- For each weekday, press Add time range and set From and To.
- Press Save.
A day with no time range shows Unavailable. Times use 15-minute steps. To block a holiday or add extra time, use Overrides.
The Get started card
Until you finish or skip every step, your Dashboard shows a Get started card. It has five steps:
- Add your first client. This is done once you have any client, active or past.
- Invite a client to their portal. This is done once one client has portal access.
- Get your first session booked. This is done once any session exists.
- Set up client booking. This is done once client booking is turned on in Settings.
- Add your first resource. This is done once you have created one resource.
Each open step has a button that takes you to the right screen. Use Skip on a step you don’t need. Skipped steps can be restored with Undo. After two steps are done or skipped, the card shrinks to one line showing the next step. Press All steps on that line to see every step again, and Fewer steps to shrink it. Hide removes the card for good. The Undo in the message right after is the only way to bring it back.

Was this article helpful?